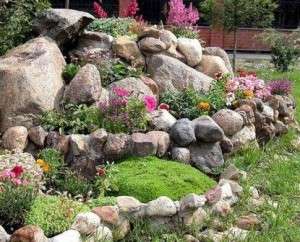
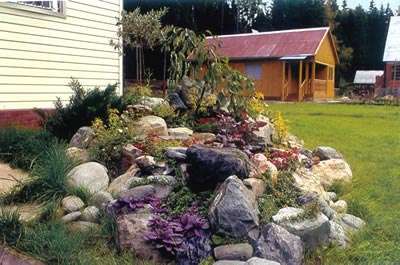
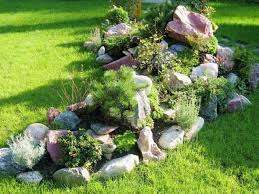
An alpine slide is a great element of landscape design when certain rules were taken into account when creating it. Otherwise, there is a risk of getting just a pile of stones, which does not bring any aesthetic joy to the owner. We invite you to find out, how to make an alpine slide with your own hands. Step-by-step instructions with photos and videos will help you arrange the site in the best way.
Also read: How to arrange an alpine slide
How to make a rock garden with your own hands
First of all, determine the place for the future alpine slide. An elevation or unevenness is ideal, it all depends on your design idea. A year after the device, the alpine slide will be overgrown with grasses and crops that will be sown. If you use the schemes and correctly calculate the location of the plants, then the rock garden will delight the eye all year round..
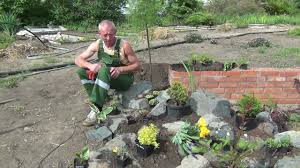
It’s just that a pile of stones with flowers growing from them can hardly be called a rock garden, so you have to work hard, thinking everything over to the smallest detail. The most important plus of the alpine slide is that it can be made on any soil with minimal fertilization, since they must be applied pointwise.
The place must meet certain conditions:
- Isolation from buildings.
- Proportionality relative to the site.
- Sufficient distance from other flower beds.
- Good lighting and water supply.
- Get close to realistic mountain scenery.
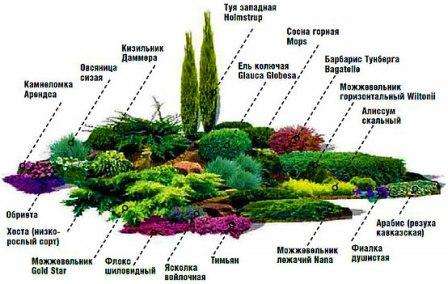
An alpine slide should not be a foreign object in an already existing design, it should fit as closely as possible into the environment. At the same time, it is not necessary to select a large area for its registration..
Step-by-step instructions for creating a rock garden
You will need: stones, sand, earth, turf or peat, humus and the plants themselves, which will be placed on the slide. After the place for the future rock garden has been chosen, it is necessary to clear the area of debris, remove the top layer of soil, and also clear the area of weeds.
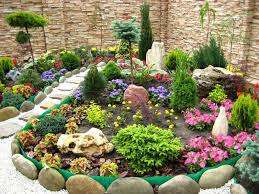
The next step is to build a gravel pad. Gravel or crushed stone is poured into the recess made in a layer of 10 – 12 centimeters. This will save the plants from excess moisture and prevent the groundwater from stagnating, which can lead to waterlogging of the flower garden. Then you need to pour a five-centimeter layer of sand.
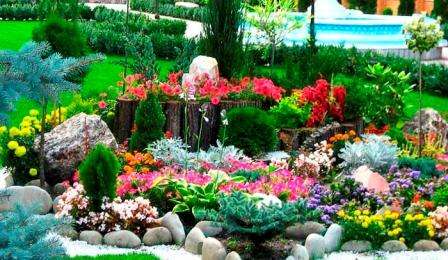
The next step is mixing the soil. What exactly to mix depends on which plants will be placed on the slide. The surface of the slide is covered with a mixture, adjusting, where necessary, the design of the future slide to the relief of the mountains. You can start laying stones on the covered hill. It is necessary to pour sand under the stones in order to avoid the fact that the stone “floats” from the water.
When laying stones, one should try to avoid symmetry, because in nature it is rare to see geometrically correct “buildings”. It would be better to observe some randomness. Stones with heavy weight need to lie down for several weeks to “settle” in the soil.
Watch the video: We create an alpine slide with our own hands
When choosing plants for an alpine slide, several rules must be followed:
- Crops that have a strong root system should be located on slopes. This will prevent melt water from blurring the slide..
- It is necessary to plant flowers so that they do not interfere with each other. Trees or bushes that will be placed on the slide should be planted first and occupy the largest areas of the rock garden.
Creating an alpine slide with your own hands, even according to step-by-step instructions with photos and videos, is a painstaking task that takes more than one month. However, it’s worth it! You will be able to significantly transform the landscape design with your own hands and decorate the site with minimal costs.

